How do I add or update events on the website?
What You’ll Learn
How to add, update, or manage events on your website using the Events module in Morweb.
Why It Matters
Keeping your events page up to date helps your audience stay informed and engaged. Whether you’re adding a new event, adjusting prices, or updating dates, the Events module makes it easy to manage all your event content in one place.
Step-by-Step Instructions
1. Open the Events Module
- Log in to the Morweb backend.
- From the left-hand menu, click Modules, then choose Events.

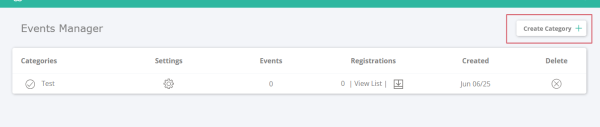
2. Create a New Event Category
1. Click the Create Category button in the top right.
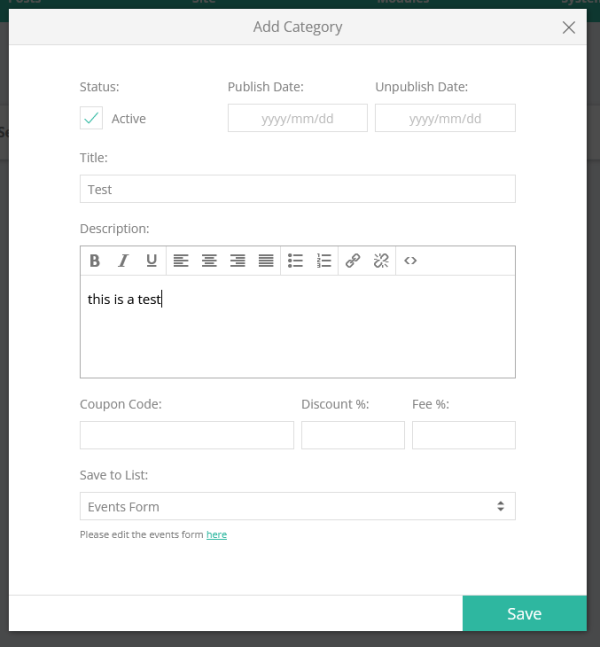
2. In the popup, fill out the details:
- Toggle Active if you want this category visible on your site.
- Set Publish/Unpublish Dates to control when it appears.
- Enter a Title and optional Description.
- Optionally add a Coupon Code and Discount %.
- Select the Form that will be used for events in this category.
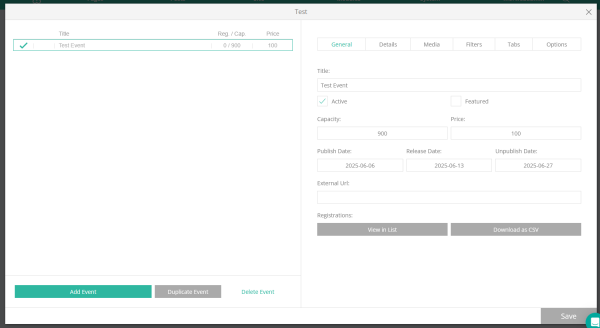
3. Add a New Event
- Click the category you want to add an event to.
- Click the Add Event button in the bottom left corner.
- A form will appear on the right side. Fill in the event details (title, date, price, etc.).
- To make the event visible, either check Active or set publish/unpublish dates.
- Click Save in the bottom right to finish.
4. Edit, Duplicate, or Delete an Event
- To edit an event:
- Click its category, then select the event from the list on the left.
- To duplicate an event:
- Select the event, then click Duplicate Event in the bottom left.
- To delete an event:
- Select the event, then click Delete Event in the bottom left.
Troubleshooting Tips
- Can't see your event on the live site?
Make sure the event or its category is marked as Active or has valid publish/unpublish dates set.
- Fields missing in the event form?
Your site may use a custom event template. Contact your project manager if you need changes to these fields.
- Want to redesign how your events look?
Reach out to your project manager to update the event styles or add new features.