How to Create and Display Alerts on Your Website
What You’ll Learn
How to create and display an alert message at the top of your website using the header template settings.
Why It Matters
Alert messages help you communicate important or time-sensitive updates with visitors—such as announcements, closures, or emergency notices—sitewide, with customizable styles and icons for emphasis.
Step-by-Step Instructions
1. Enable and Customize an Alert Message
- Right-click on your website’s header (where your logo and main navigation appear).
- From the menu, select Edit Template.
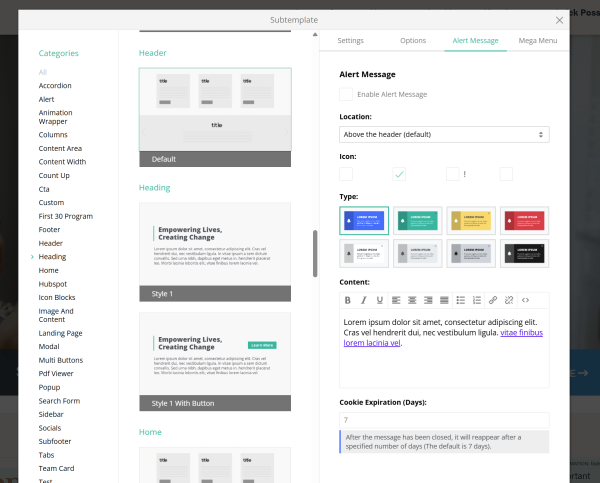
- In the template settings, go to the Alert Message tab.
- Check the Enable Alert Message box to activate the feature.
- Customize your alert:
- Select the location where the alert will display.
- Choose an icon to add next to the message.
- Pick a template style for how the alert looks.
- Enter your alert content—this can include text, links, or HTML.
- Set cookie expiration days to control how long the alert stays hidden after being dismissed.
- Click Save to apply your changes.
- Refresh your site to view the alert at the top of the page.
Troubleshooting Tips
- Alert not appearing?
Double-check that the “Enable Alert Message” option is selected and your changes have been saved.
- Changes not showing?
Refresh your browser or clear its cache to make sure you're seeing the latest version.
- Alert not reappearing after closing?
Review the cookie expiration setting—if it’s set to a high number, the alert will stay hidden for that many days after dismissal.