How do I set up accounts in Morweb?
What You’ll Learn
How to create new user accounts in Morweb.
Why It Matters
Efficiently managing user accounts allows your team members to contribute to your website effectively. Organizing users into groups streamlines permissions management, ensuring each person accesses only the areas relevant to their role. This approach reduces the risk of unauthorized changes and simplifies user onboarding.
Step-by-Step Instructions
1. Access the Users Section
- Login to the backend of your Morweb website.
- Hover over your username and select Users from the dropdown menu.

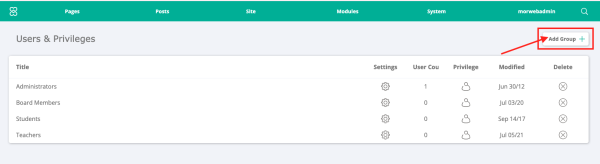
2. Add a User Group
- Click on Add Group.
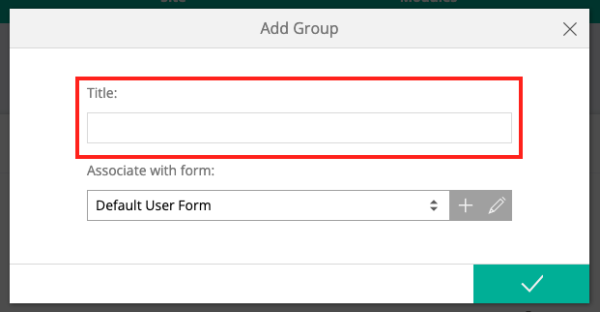
3. Name the Group
- Enter a title for the new group (e.g., "Editors", "Admins").
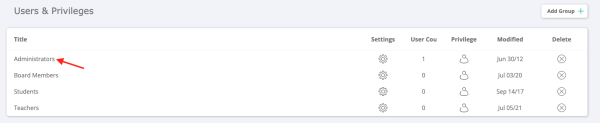
4. Open the Group
- Click on the group you just created to open its settings.
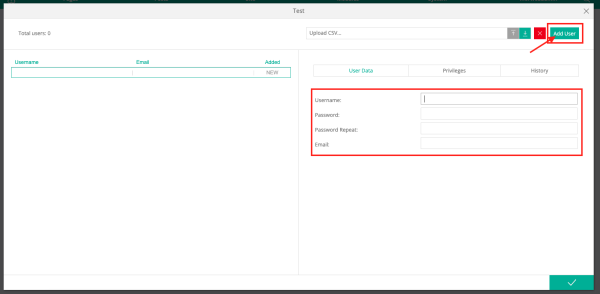
5. Add or Remove a User
- Click Add User within the group settings.
- Enter the username, password, and email address for the new user.
- Click the green checkbox to save the user.
- To delete a user, click on the user group, then click on the user’s name, and select the red "X" button at the top to remove them.
Troubleshooting Tips
- New user can’t log in?
Double-check the email and password. Reset the credentials if necessary.
- Group not appearing?
Refresh the page after creating a group. If it still doesn’t show, check if your user role has admin privileges.