How to Add an Image to Your Page
What You’ll Learn
How to add images to your Morweb page using either the Image Widget or the content editor.
Why It Matters
Images make your pages more engaging and visually appealing. Whether you’re adding photos, graphics, or icons, Morweb gives you simple tools to place them exactly where you want.
Step-by-Step Instructions
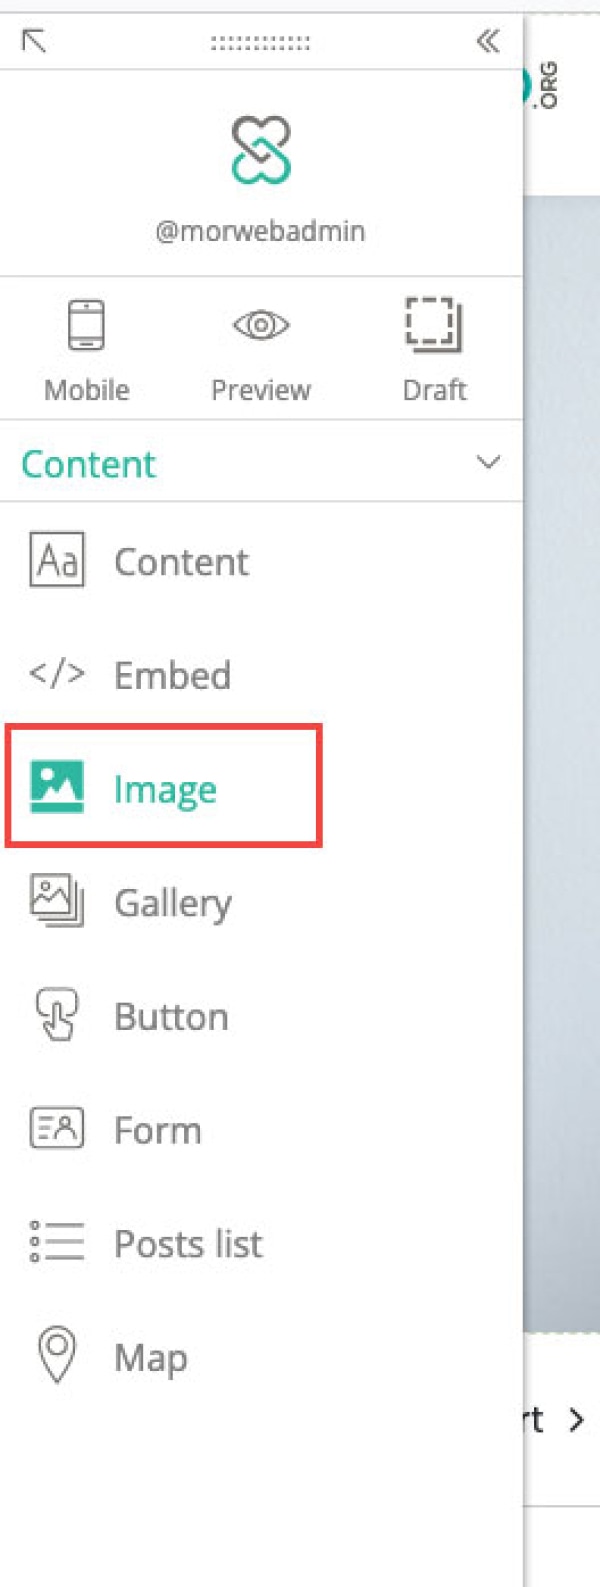
1. Using the Image Widget
- Drag and drop the Image Widget from the Widget Palette onto your page where you want the image to appear.
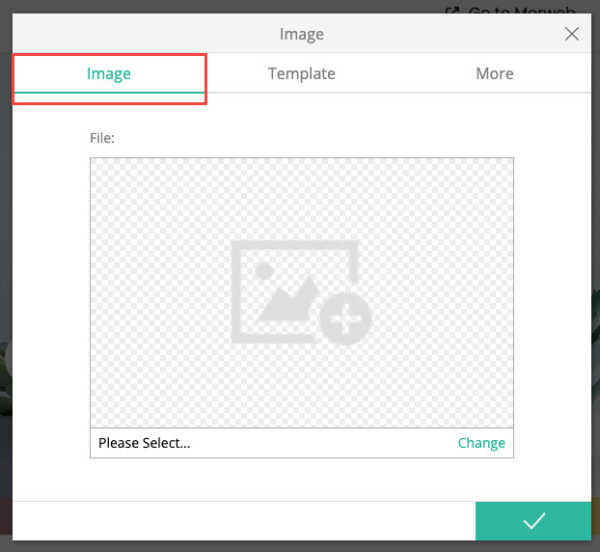
- In the Image tab, select your image from the gallery.
- Choose the template you want to use. This controls the layout and styling.
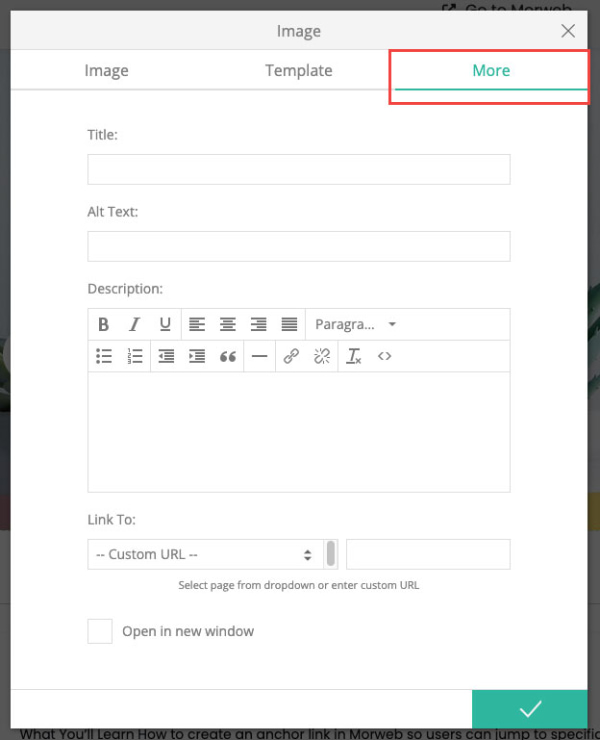
- If the template you selected shows text, you can optionally add a title, description, and link in the More tab.
- Click the green checkmark to save your changes.

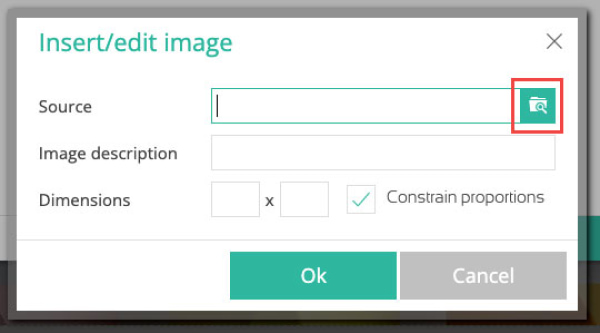
2. Using the Content Area
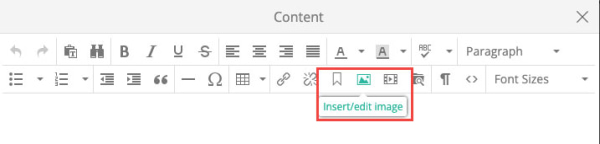
- Click into a content area and open the text editor.
- Click the Image button in the toolbar.
- Click the Browse button to select your image from the gallery.
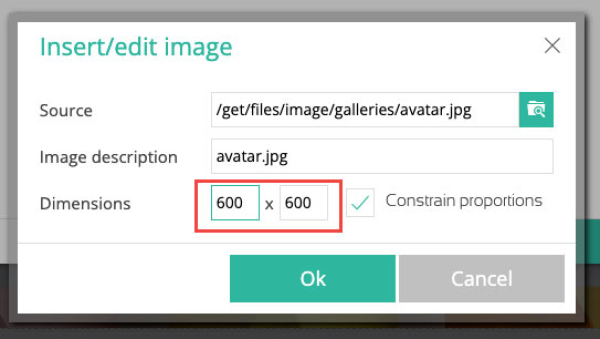
- Adjust the width and height if needed for better layout control.
- Click the green Ok button to save.
Troubleshooting Tips
- Image not appearing?
Make sure you’ve clicked the green checkmark to save. Also check that the image file isn’t too large or corrupted.
- Image looks stretched or cut off?
Try adjusting the dimensions or choose a different template that fits the layout better.
- Can’t find the image in the gallery?
Make sure the image has been uploaded to your media gallery. If not, you can upload it directly during selection.