How to Use Spacers for Better Page Layouts
What You’ll Learn
This article will teach you how to use spacers to create clean and visually appealing page layouts.
Why It Matters
Spacers help you reduce clutter on your page by adding white space between sections, making your content easier to read and navigate.
Step-by-Step Instructions
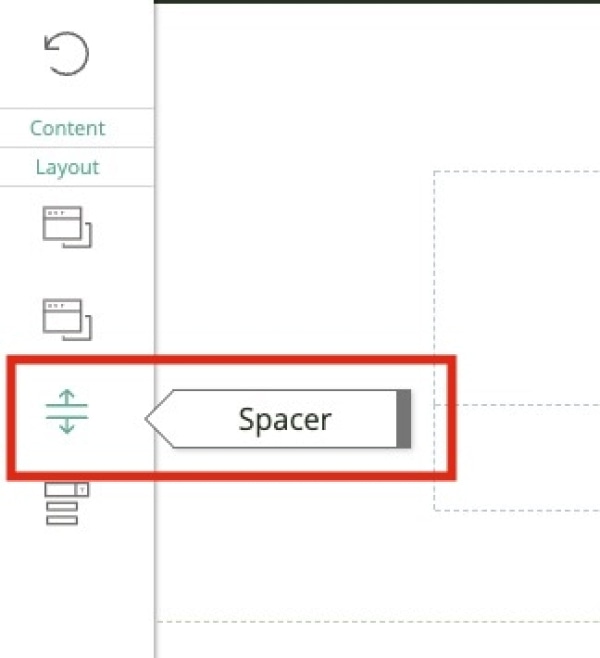
1. Find the Spacer Icon
- Go to the Live Editor and select the Layout section.
- Look for the Spacer icon. This is what you’ll use to create extra white space on your page.
2. Add the Spacer to Your Page
- Click and drag the spacer to the area of your page where you want to add some space.
- When you drop the spacer, the Spacer Window will appear automatically.
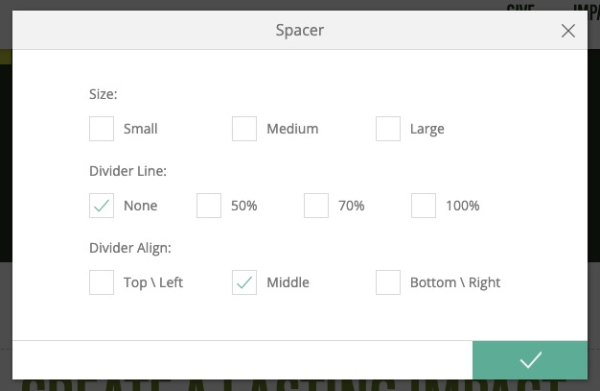
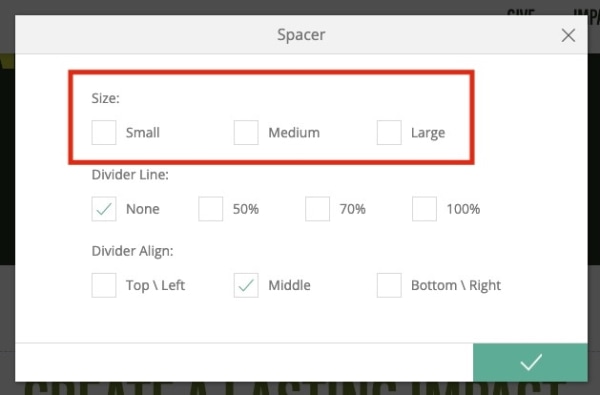
3. Adjust the Spacer Height
- In the first row of the Spacer Window, choose a preset height for your spacer.
- You can also adjust the width directly on the page by dragging the pin inside the spacer block, once you have closed the Spacer Window.
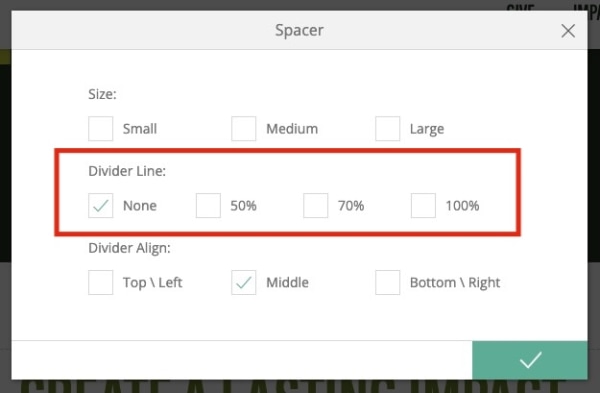
4. Adjust the Divider Line Width
- In the second row of the Spacer Menu, adjust the divider line’s width.
- You can set the width from 0% (invisible) to 100% (full width), depending on the look you want.
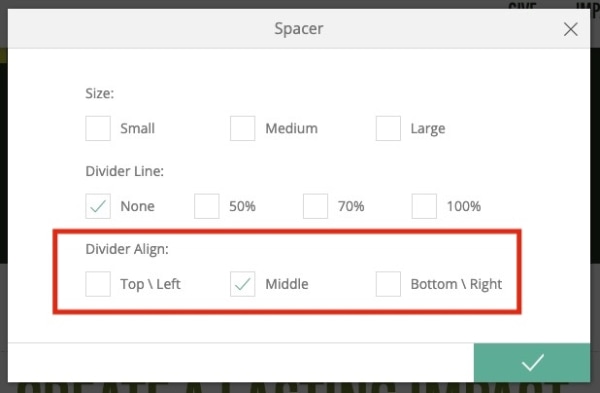
5. Set the Divider Line's Alignment
- In the last row of the Spacer Menu, choose how you want the divider line to be aligned.
- You can choose to align it to the Top/Left, Bottom/Right, or Middle of the spacer.
6. Save Your Changes
- Once you’ve set up the spacer to your liking, click the green checkmark button at the bottom right to save your changes.
Troubleshooting Tips
- Can’t Find the Spacer Icon?
Make sure you’re in the Layout section of the toolbox. If you don’t see the spacer icon, try refreshing the page or logging out and back in.
- Spacer Not Adjusting Properly?
Check that you’re dragging the pin within the spacer area.
- Changes Not Saving?
Be sure to click the green checkmark button after making changes to save your work.