How to Create a Table
What You’ll Learn
How to insert and customize a table in a content block using Morweb's WYSIWYG editor.
Why It Matters
Tables make it easy to organize information in rows and columns, perfect for things like schedules, pricing, comparisons, and lists.
Step-by-Step Instructions
1. Add a Content Area widget or Edit an Existing One
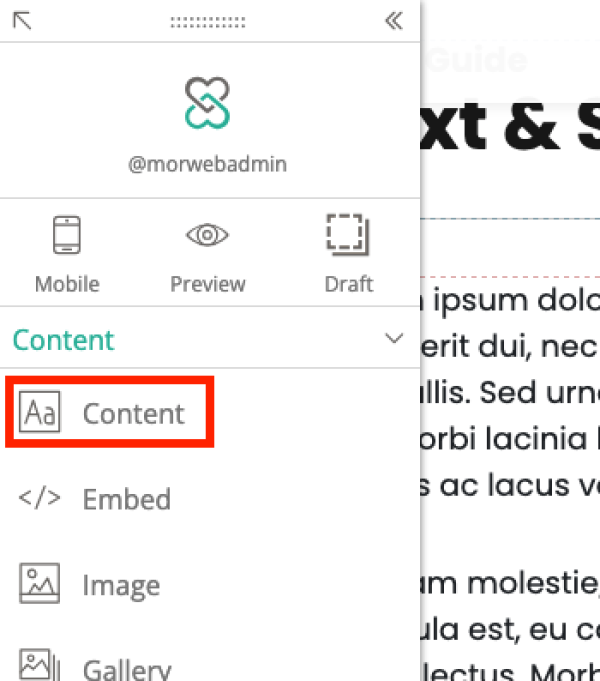
- In the widget palette, drag the Content widget onto the page where you would like to add your table.
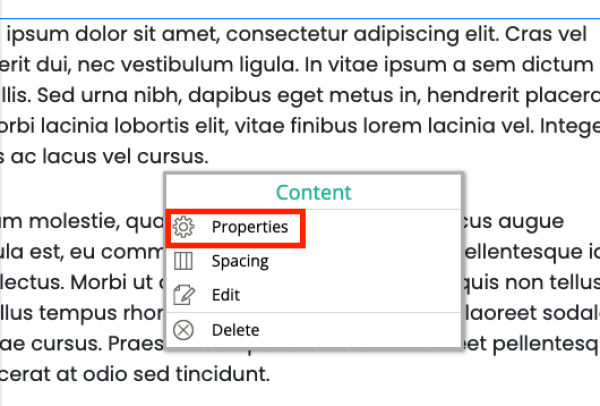
- To add a table to an existing Content widget, right click on it and select Properties.
- The WYSIWYG (What You See Is What You Get) editor will open for that section.
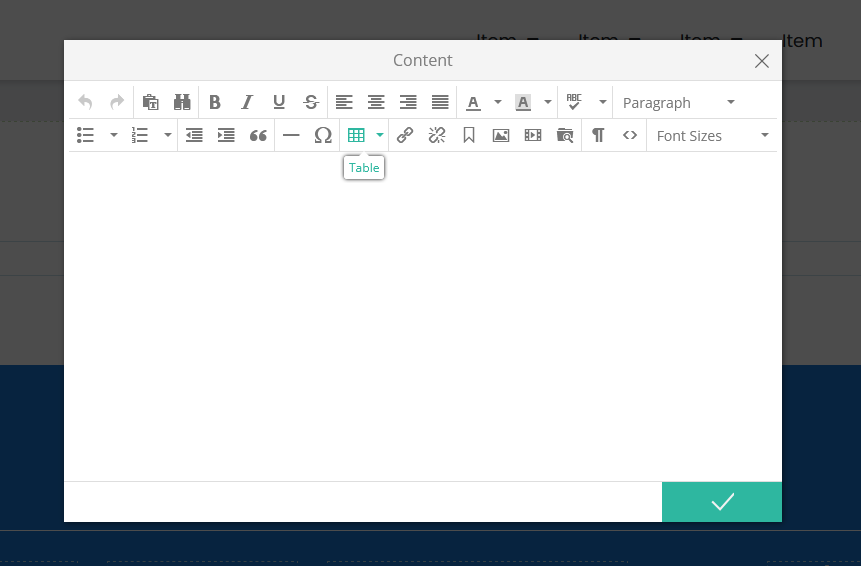
3. Insert the Table
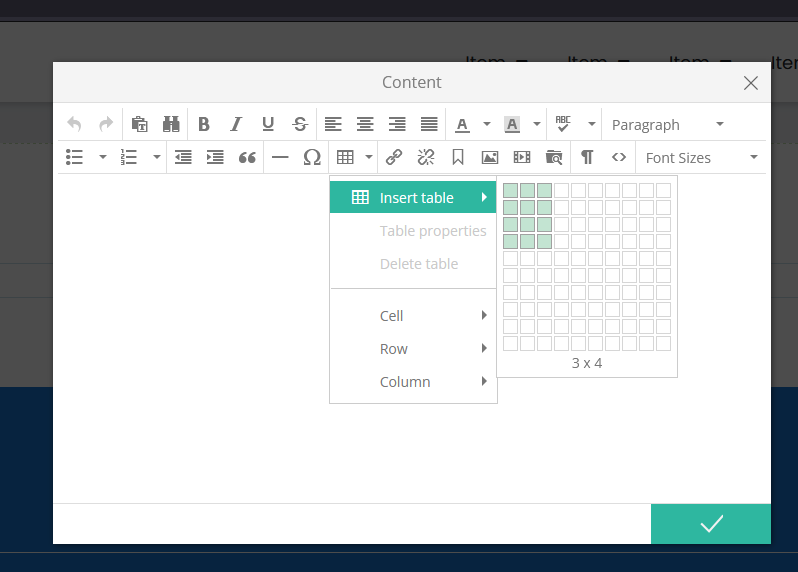
- In the editor toolbar, click the Table icon (grid icon).
- Select the number of rows and columns you want from the dropdown grid (e.g., 3x4).
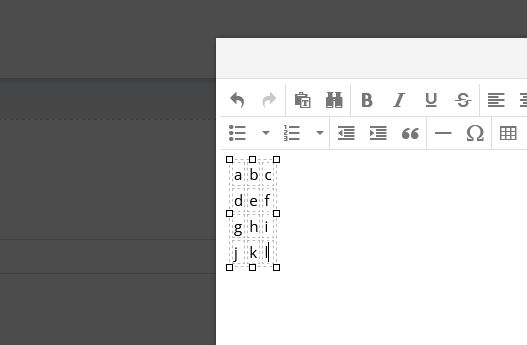
4. Fill In Your Table
- Click into each cell to enter your content—letters, numbers, or even images.
- Use the toolbar to apply text formatting if needed.
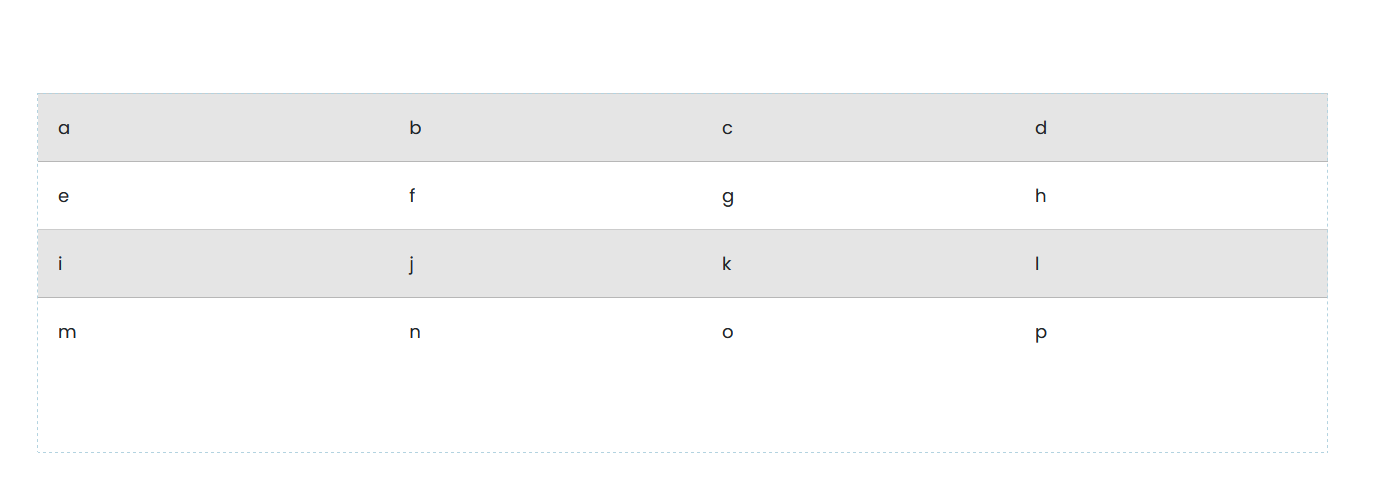
5. Preview and Adjust Your Table
- After saving, preview your table on the live page to ensure it looks right.
- Right-click on the table in the editor for options to add/remove rows, merge cells, or adjust alignment.
Troubleshooting Tips
- Table looks cramped or stretched?
Adjust column widths manually or try fewer columns for better mobile layout.
- Accidentally created too many rows?
Right-click the table and choose Row → Delete row to remove extras.