How to upload a PDF and link it to text on your website using the editor tools
What You’ll Learn
How to upload a PDF and link it to text on your website using the editor tools.
Why It Matters
Linking to PDF files lets you share important documents—like job postings, event flyers, or application forms—directly on your site, making it easier for visitors to access information.
Step-by-Step Instructions
1. Link the Text to the PDF
- Navigate to the page where you want to add the link (e.g., the Careers page).
- Enter edit mode and highlight the text you want to turn into a link (like a job title).
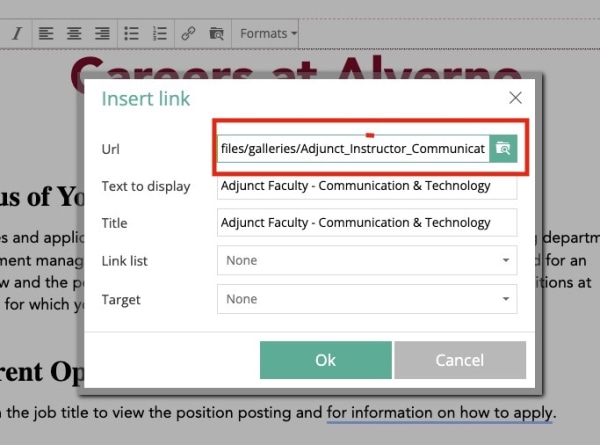
- Click the Insert/Edit Link icon in the toolbar.
- In the URL field, click the Browse (folder) icon.
- Select the file (PDF, Word document, etc.) you want to link to.
- Set the link to Open in a New Tab (Target: New Window).
- Click OK to apply the link.
- Save the page and test the link to ensure it works.
Please Note: The file name should not contain special characters other than - and _
Troubleshooting Tips
- Link not working or showing a 404 error
Double-check that the file was uploaded and the link begins with
/file. Make sure the PDF file hasn’t been moved or renamed. - Nothing happens when clicking the link
Make sure the link was properly inserted and that the text was highlighted before adding the link.
- Accidentally deleted the link or text
You can use the undo button or re-highlight the text and repeat the steps to reinsert the link.