How to Create a Form
What You’ll Learn
How to build and customize a form in your Morweb site using the Morweb backend.
Why It Matters
Forms let you collect information from your site visitors—whether you’re gathering contact info, feedback, or applications—directly through your Morweb dashboard for easy management.
Step-by-Step Instructions
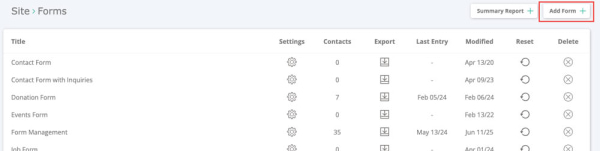
1. Access the Forms section
- Log in to Morweb.
- Click Forms in the main navigation menu.

2. Create a new form
- Click the Create Form button in the top-right corner of the Forms page.
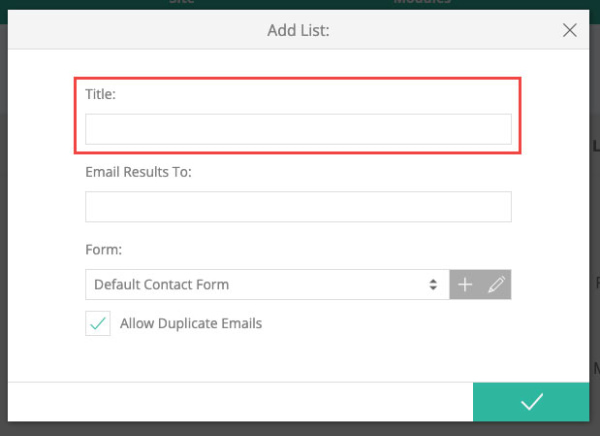
3. Name Your List and Create a New Form
- Enter a name for your list in the Title box.
- Optionally, add emails in the Email Results To box to send the form results to members of your team. Multiple emails should be separated with commas.
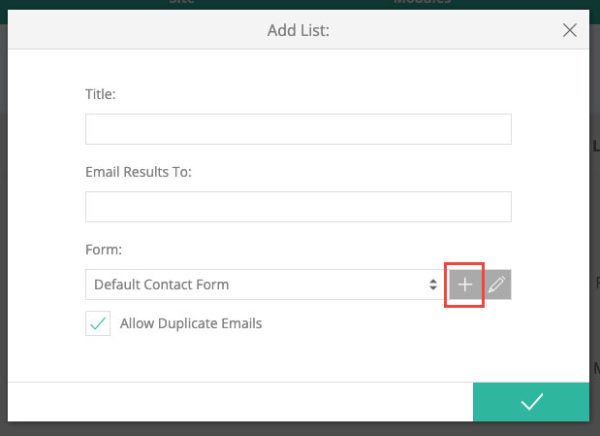
- Click the + button to create a new form.
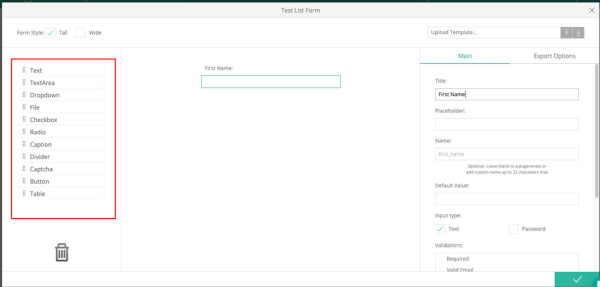
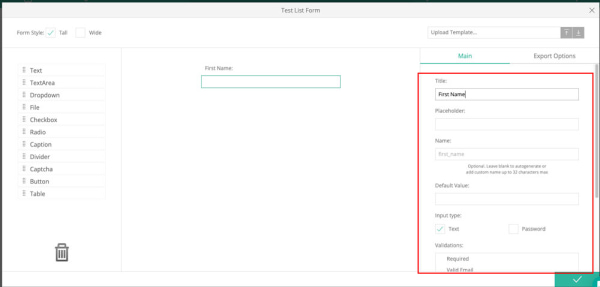
4. Add fields and configure field titles and names
- Drag and drop fields from the left sidebar to add them to the form.
- Select a field and enter a Title in the right‑hand panel. The Field Name will auto-generate.
- Ensure each field name is unique, uses only letters or underscores, and is no more than 32 characters.
- Edit the field name manually after setting the title if you need to customize it.
5. Adjust field-specific options
- Depending on the field type, configure options like placeholder text, dropdown or radio choices, or file‑upload settings.
- If you need clarification on any option, contact the Morweb support team for assistance.
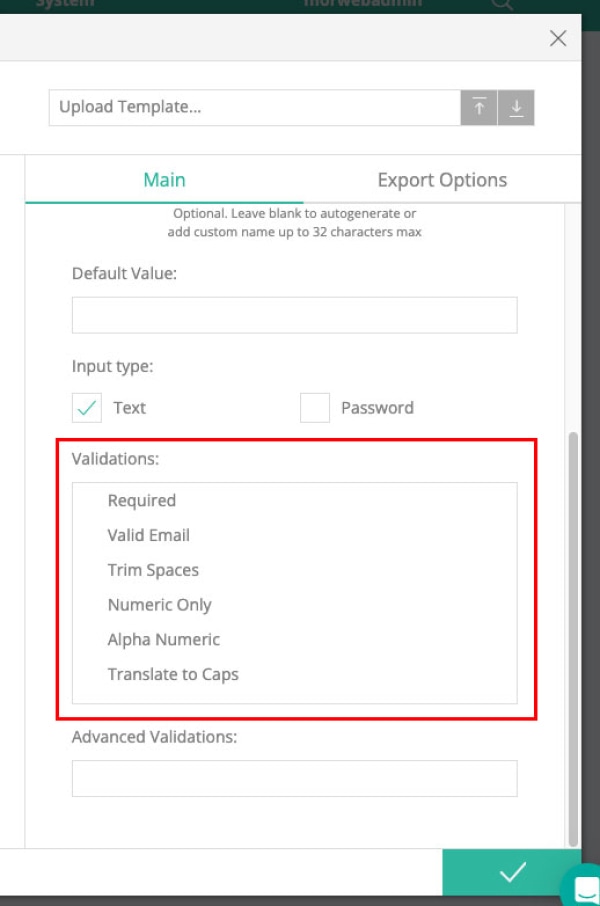
6. Add validation rules
- Scroll to the bottom of the options panel and open Validations.
- Select built‑in rules (required, letters only, numbers only, valid phone, valid email, etc.) to enforce input requirements.
- For custom validation needs, reach out to your Project Manager, who will coordinate with the programming team.
7. Save your form
- When you’re done editing your form, click the green checkmark to save your changes.
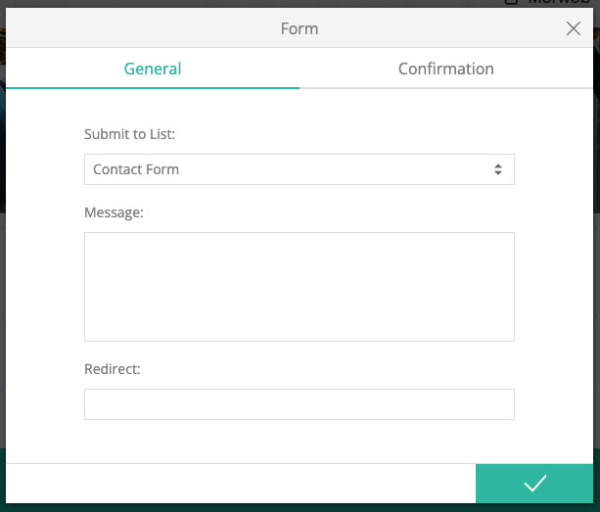
8. Add the form to a page
- Drag and drop a Forms widget onto the desired page.
- Select your form from the Submit to List dropdown.
- Optionally, set a confirmation Message or a Thank You Page Link for after submission.

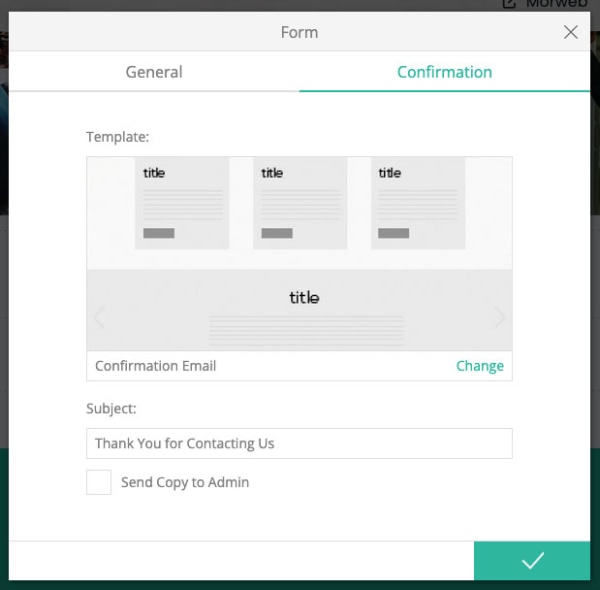
10. Set up confirmation emails
- Open the Confirmation tab in the widget settings.
- Select a Confirmation Email template to send to users upon submission.
- Customize the Email Subject as needed.
- For advanced email customizations, contact your Project Coordinator.
Troubleshooting Tips
- Field name errors
If you see an error about invalid characters or length, confirm the name uses only letters/underscores and is under 32 characters.
- Cannot drag fields
Make sure you’re in the form editor (not preview mode) and reload the page if dragging isn’t working.
- Validations not applying
After setting rules, publish or save your form, then clear your browser cache to see the updates.