How to add a button?
What You’ll Learn
You’ll learn how to add a styled button to a page in Morweb and link it to another page, file, or external website using built-in editing tools.
Why It Matters
Buttons are powerful visual elements that guide users toward key actions like “Donate,” “Register,” or “Learn More.” Adding buttons improves navigation, increases engagement, and drives conversions by making your calls-to-action (CTAs) more prominent and accessible.
Step-by-Step Instructions
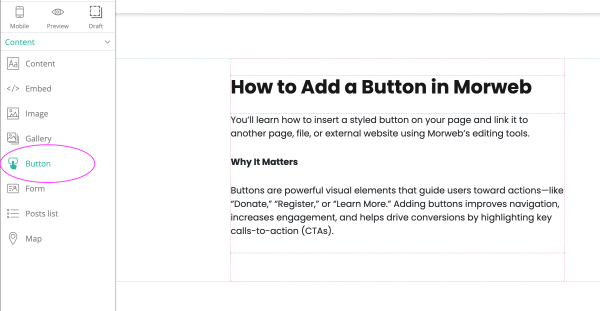
1. Insert a Button
- Drag the Button icon from the widget palette to the desired spot on the page.
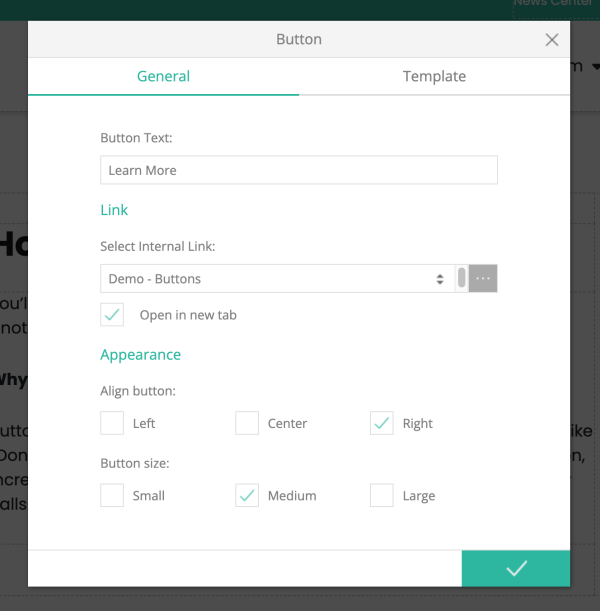
2. Set General Button Style
- Enter the button text (e.g., “Learn More”).
- Paste or select the URL you want the button to link to.
- Choose an alignment and size.
- Optionally, check “Open in new window” to have the link open in a new tab.
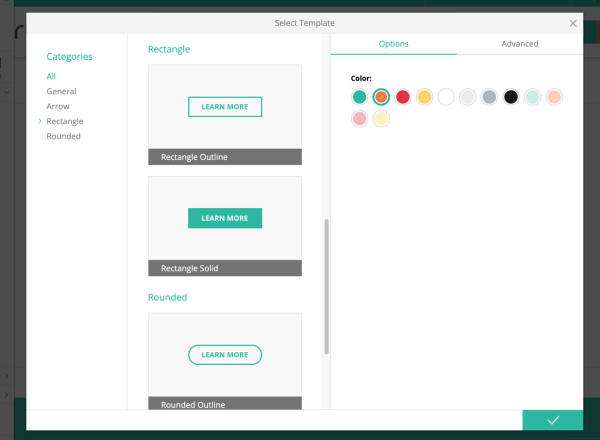
3. Set Button Template
- In the Template tab, open the template selector
- Choose a template from the list in the popup
- In the right-hand sidebar, select the color you want your button to be
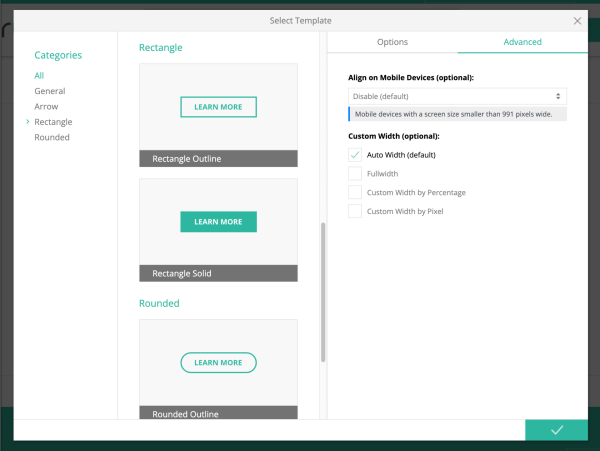
- You can also change the button width and mobile settings under Advanced.
4. Edit or Make Changes
- Right-click the section containing the button and select Properties.
- Adjust style, alignment, link behavior, and more as needed.
Troubleshooting Tips
- Button Not Linking Properly?
Verify that the link is correct—external links should start with
https://and internal links should use the appropriate relative path.