How to Add and Resize Images in Blog Posts in Morweb
What You’ll Learn
How to insert and resize images in a blog post using Morweb’s editor.
Why It Matters
Images help make your blog posts more engaging. Resizing them ensures they fit your layout nicely and look great on all screen sizes.
Step-by-Step Instructions
1. Open the Blog Post Editor
- Log in to your Morweb website as an admin.
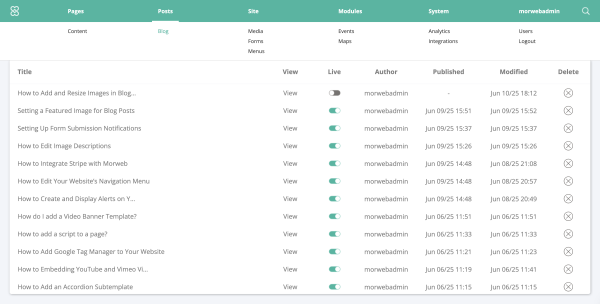
- Click Pages in the top admin bar, then select Blog.
- Choose a blog post to edit or click Add Blog Post to start a new one.
2. Add an Image
- Click into the text editor where you want the image to appear.
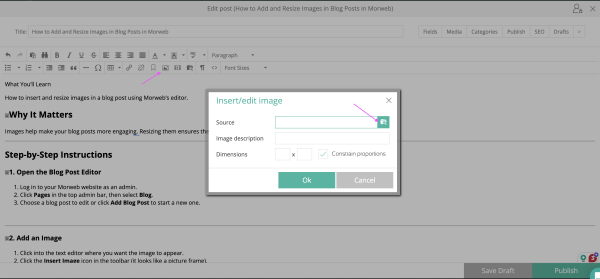
- Click the Insert Image icon in the toolbar (it looks like a picture frame).
- In the popup window, click Upload to add a new image or select one from your File Manager.
- Click Insert to add the image to your post.
3. Resize the Image
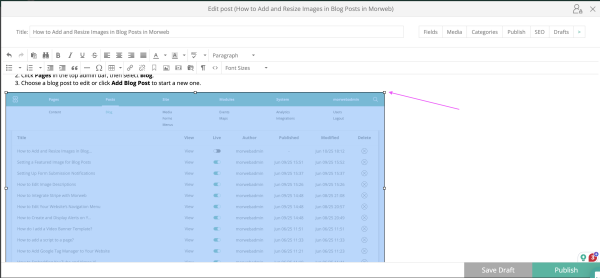
- Click the image in the editor. Resize handles will appear around it.
- Drag a corner handle to make the image larger or smaller (keep proportions).
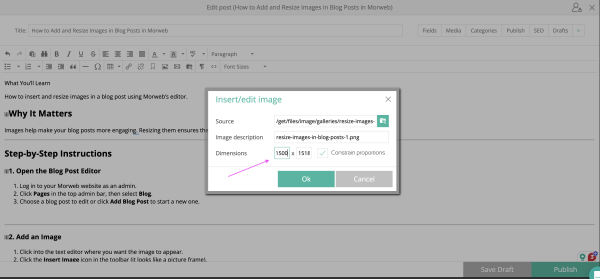
- Or click the Insert Image icon again and enter the Width and Height in pixels.
- Leave one field blank to keep the original ratio.
4. Save Your Changes
- Click the Save button at the bottom of the editor.
- Click Publish or Update to make your changes live.
Troubleshooting Tips
- Image looks blurry
Try uploading a higher-resolution version of the image.
- Image won’t upload
Make sure the file is under 5MB and in a supported format like JPG or PNG.
- Image is too big or breaks the layout
Use the resizing tools to reduce its width, or align it to the left or right.
- Can’t find your uploaded image
Check the correct folder in the File Manager. Newly uploaded files usually go to the default folder.