Creating a Multi-Column Layout with Subtemplates
What You’ll Learn
How to use the Column subtemplates to create a multi-column layout and organize your content into a cleaner, more balanced format.
Why It Matters
Multi-column layouts help break up long pages and make content easier to read. They’re great for displaying features side-by-side, listing services, or structuring visual content more effectively.
Step-by-Step Instructions
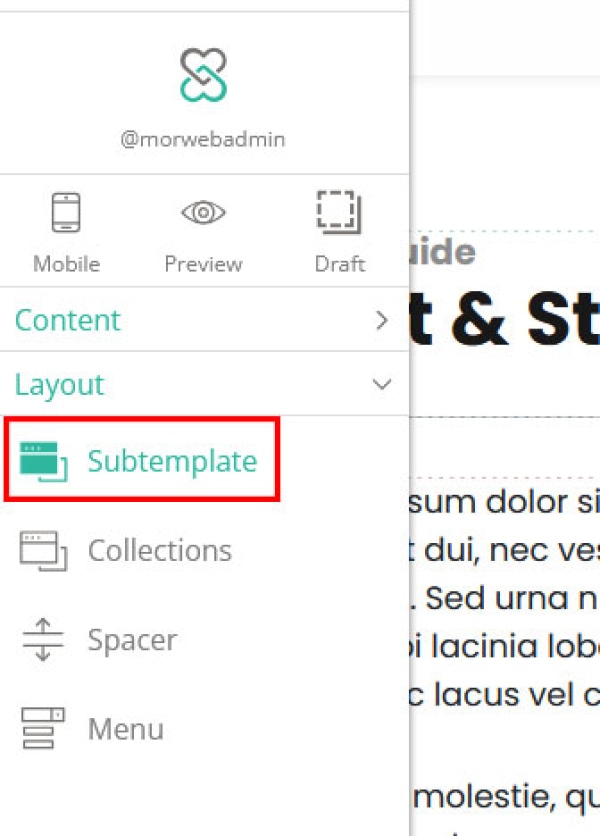
1. Add the Subtemplate Widget
- Log in and go to the page you want to edit.
- Drag and drop the Subtemplate widget into the section where you want the columns to appear.
2. Select a Column Layout
- In the Subtemplate window, look at the left sidebar under Categories.
- Select the Columns category to view available column layouts.
- Choose a layout based on how many columns you need—2, 3, or more—depending on your design goals.
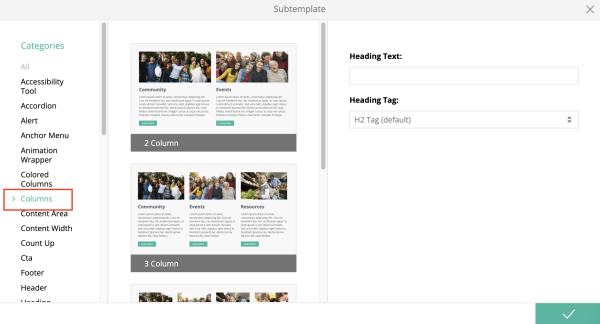

3. Customize the Column Layout
- On the right side of the Subtemplate window, adjust layout options such as:
- Column spacing (gap)
- Alignment (left, center, right)
- Under the Advanced tab, you can adjust the Mobile Breakpoint to control how the columns behave on smaller screens.
(Note: Available options may vary depending on your website’s template.) - When you're finished, click the green checkmark in the bottom-right corner to add the column layout to the page.
4. Add Content to Each Column
- Drag content widgets (text, images, buttons, etc.) into any of the column sections.
- Style and adjust the content as needed to match your design.

Troubleshooting Tips
- I don’t see the Column category in the Subtemplate window.
Double-check that you are using the correct Subtemplate widget and that your website template supports column layouts.
- My columns don’t look right on mobile devices.
Try adjusting the Mobile Breakpoint settings under the Advanced tab to improve responsiveness.