Setting a Featured Image for Blog Posts
What You’ll Learn
How to set a featured image for a blog post in Morweb so that it appears on listing pages and previews.
Why It Matters
A featured image visually represents your blog post across the site, and enhances user engagement and content visibility.
Step-by-Step Instructions
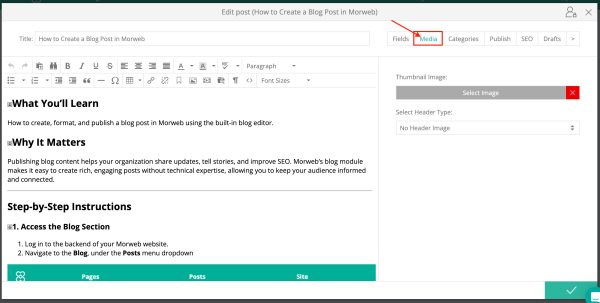
1. Go to the Media Tab in the Blog Editor
- After creating or opening your blog post, locate and click on the Media tab in the blog editor window.
2. Upload or Select an Image
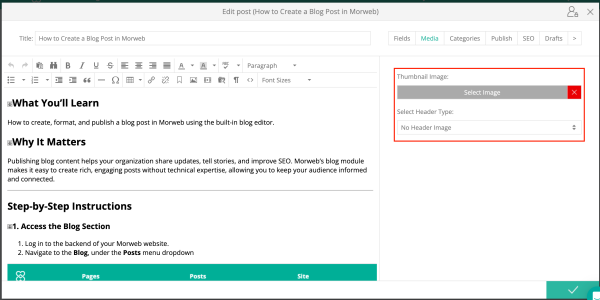
- In the Media tab, you’ll see options for Thumbnail and Header Image.
- The Thumbnail is used for the blog preview or listing page, while the Header Image is what appears at the top of the blog post when it is opened.
- Click Select Image to upload a new image from your computer, or select an existing image from your media library.
3. Apply the Image as Featured
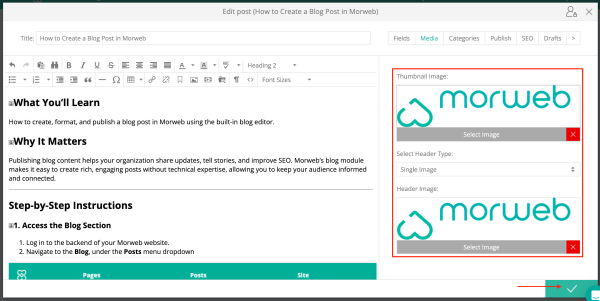
- Once the image is selected or uploaded, it will automatically be assigned to the Thumbnail and/or Header fields depending on where you place it.
- Click the green checkmark to save the blog post and apply the featured image.
Troubleshooting Tips
- The image doesn’t appear in the blog listing.
Ensure the image was assigned to the Thumbnail field and the post has been published.
- I uploaded an image but don’t see it in the library.
Try refreshing the media library or re-uploading the image. Make sure it’s a supported file type like JPG or PNG.