How to Sort and Organize Images in Folders
What You’ll Learn
You’ll learn how to create folders in the Morweb Media library, organize your images, and move files between folders for a tidy media library.
Why It Matters
A well-organized media library makes it faster to find and reuse images, keeps your site’s content management efficient, and prevents clutter as your site grows.
Step-by-Step Instructions
1. Navigate to the Media Library
- Log in to the Morweb CMS backend.
- In the left-hand menu under Site, click Media.

2. Add a New Folder
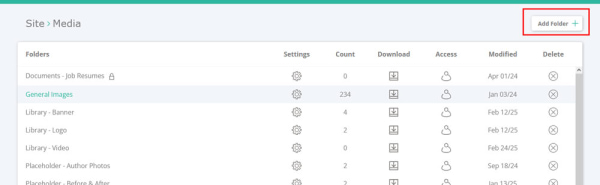
- In the Media library screen, click the Add Folder button in the top right corner.
- Enter a name for your new folder and click Create.
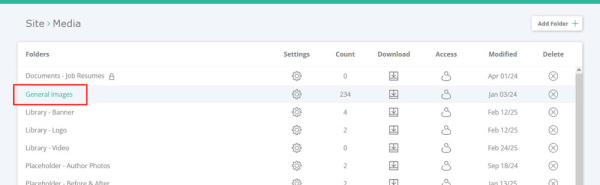
3. Open an Existing Folder
- From the folder list, click the name of the folder you want to edit.
- The folder opens, showing all files contained within.
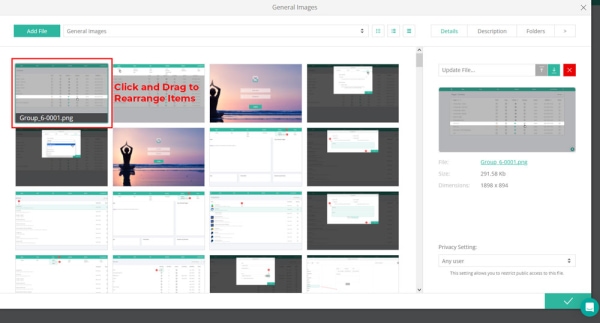
4. Upload and Rearrange Files
- Inside the folder, click Upload to add new images.
- Click and drag files to reorder them within the folder.
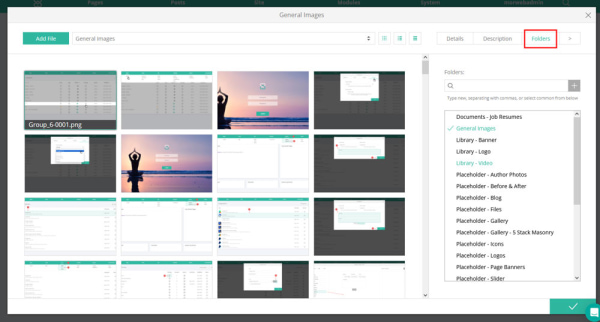
5. Move Files Between Folders
- Click on a file to select it.
- In the right-hand pane, click the Folders tab.
- Click the folders you want the file to appear in, then click Save.
Troubleshooting Tips
- Media menu not visible
Ensure your account has permission to access the Media library in Site settings.
- Add Folder button missing
Verify you’re on the main Media page, not inside a specific folder. Navigate back to the root Media library first.
- Drag-and-drop not working
Try a different browser or disable any browser extensions that may block drag-and-drop functionality.
- File not appearing in selected folder
After selecting folders in the Folders tab, be sure to click Save before closing the pane.